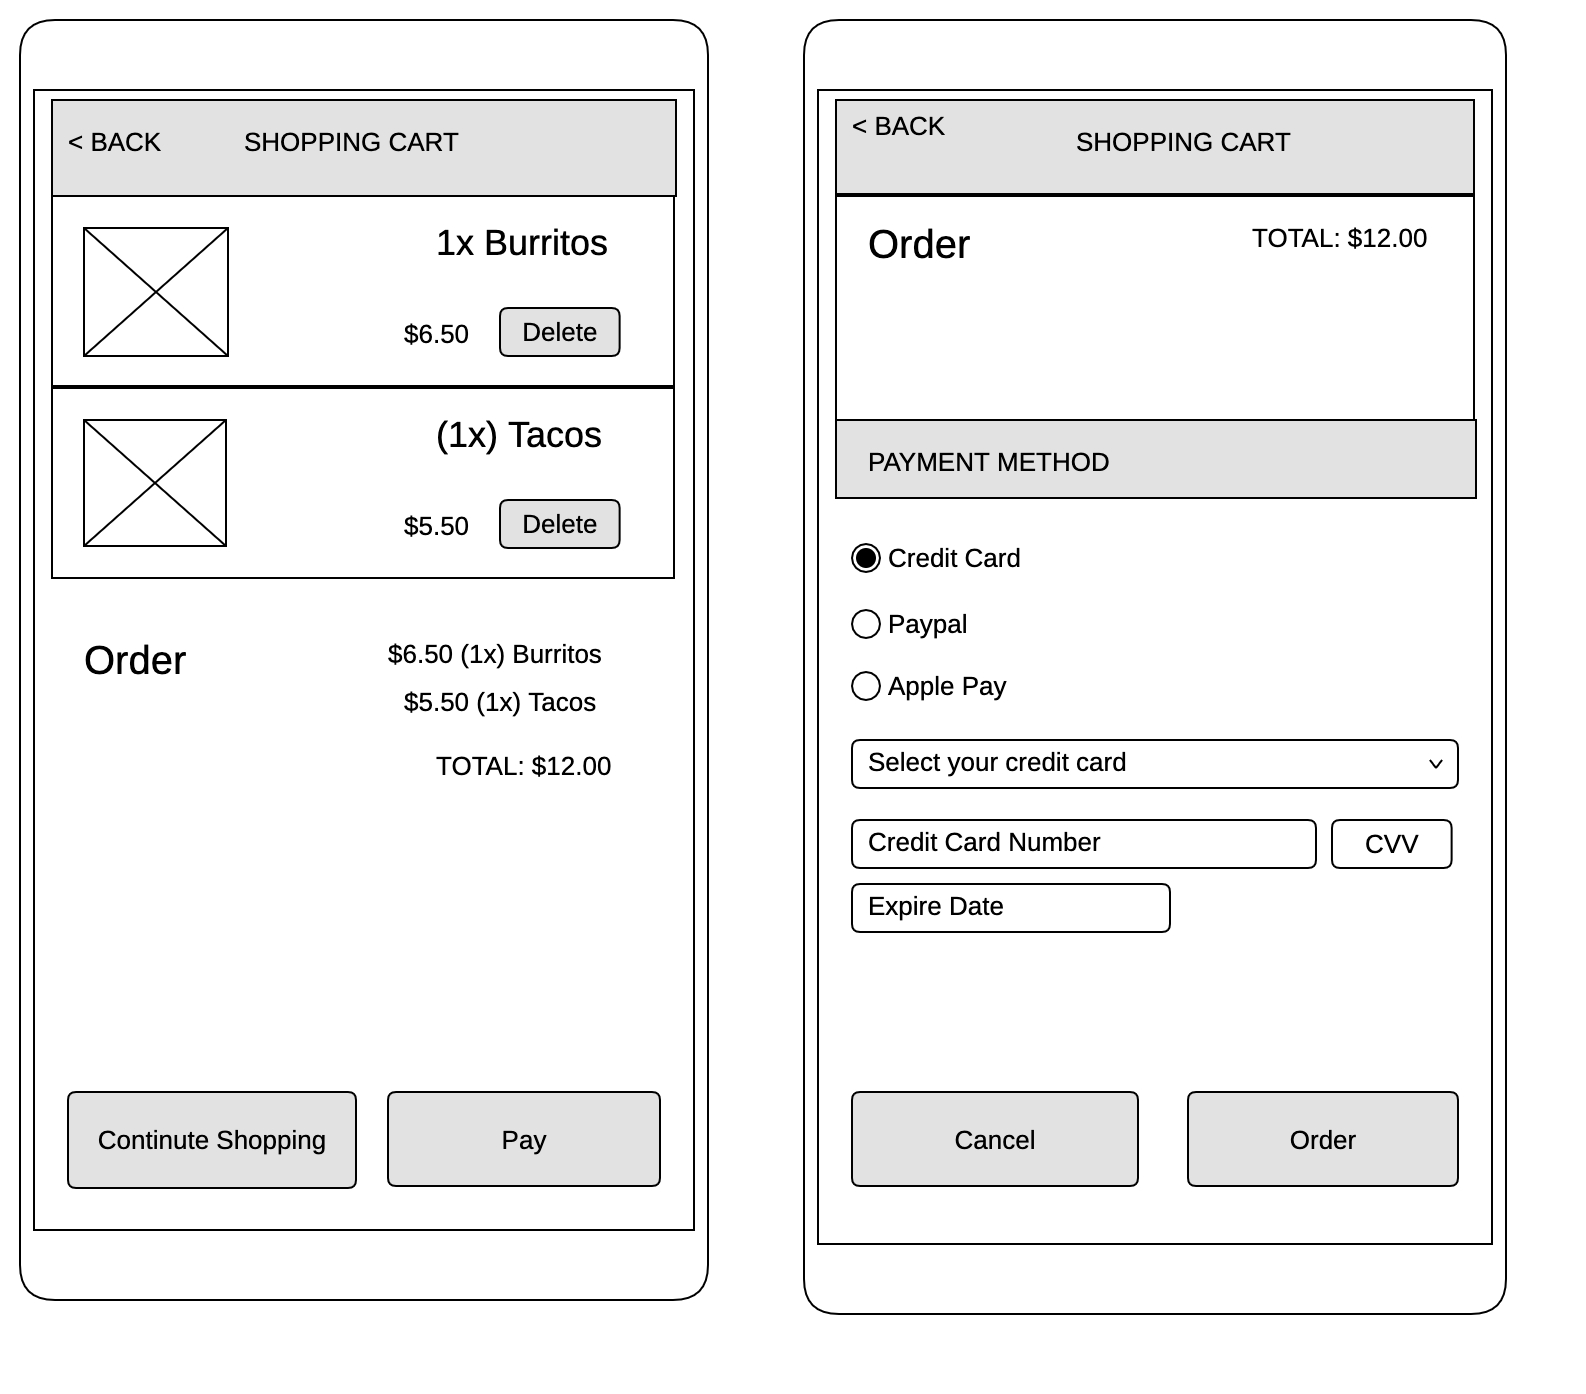
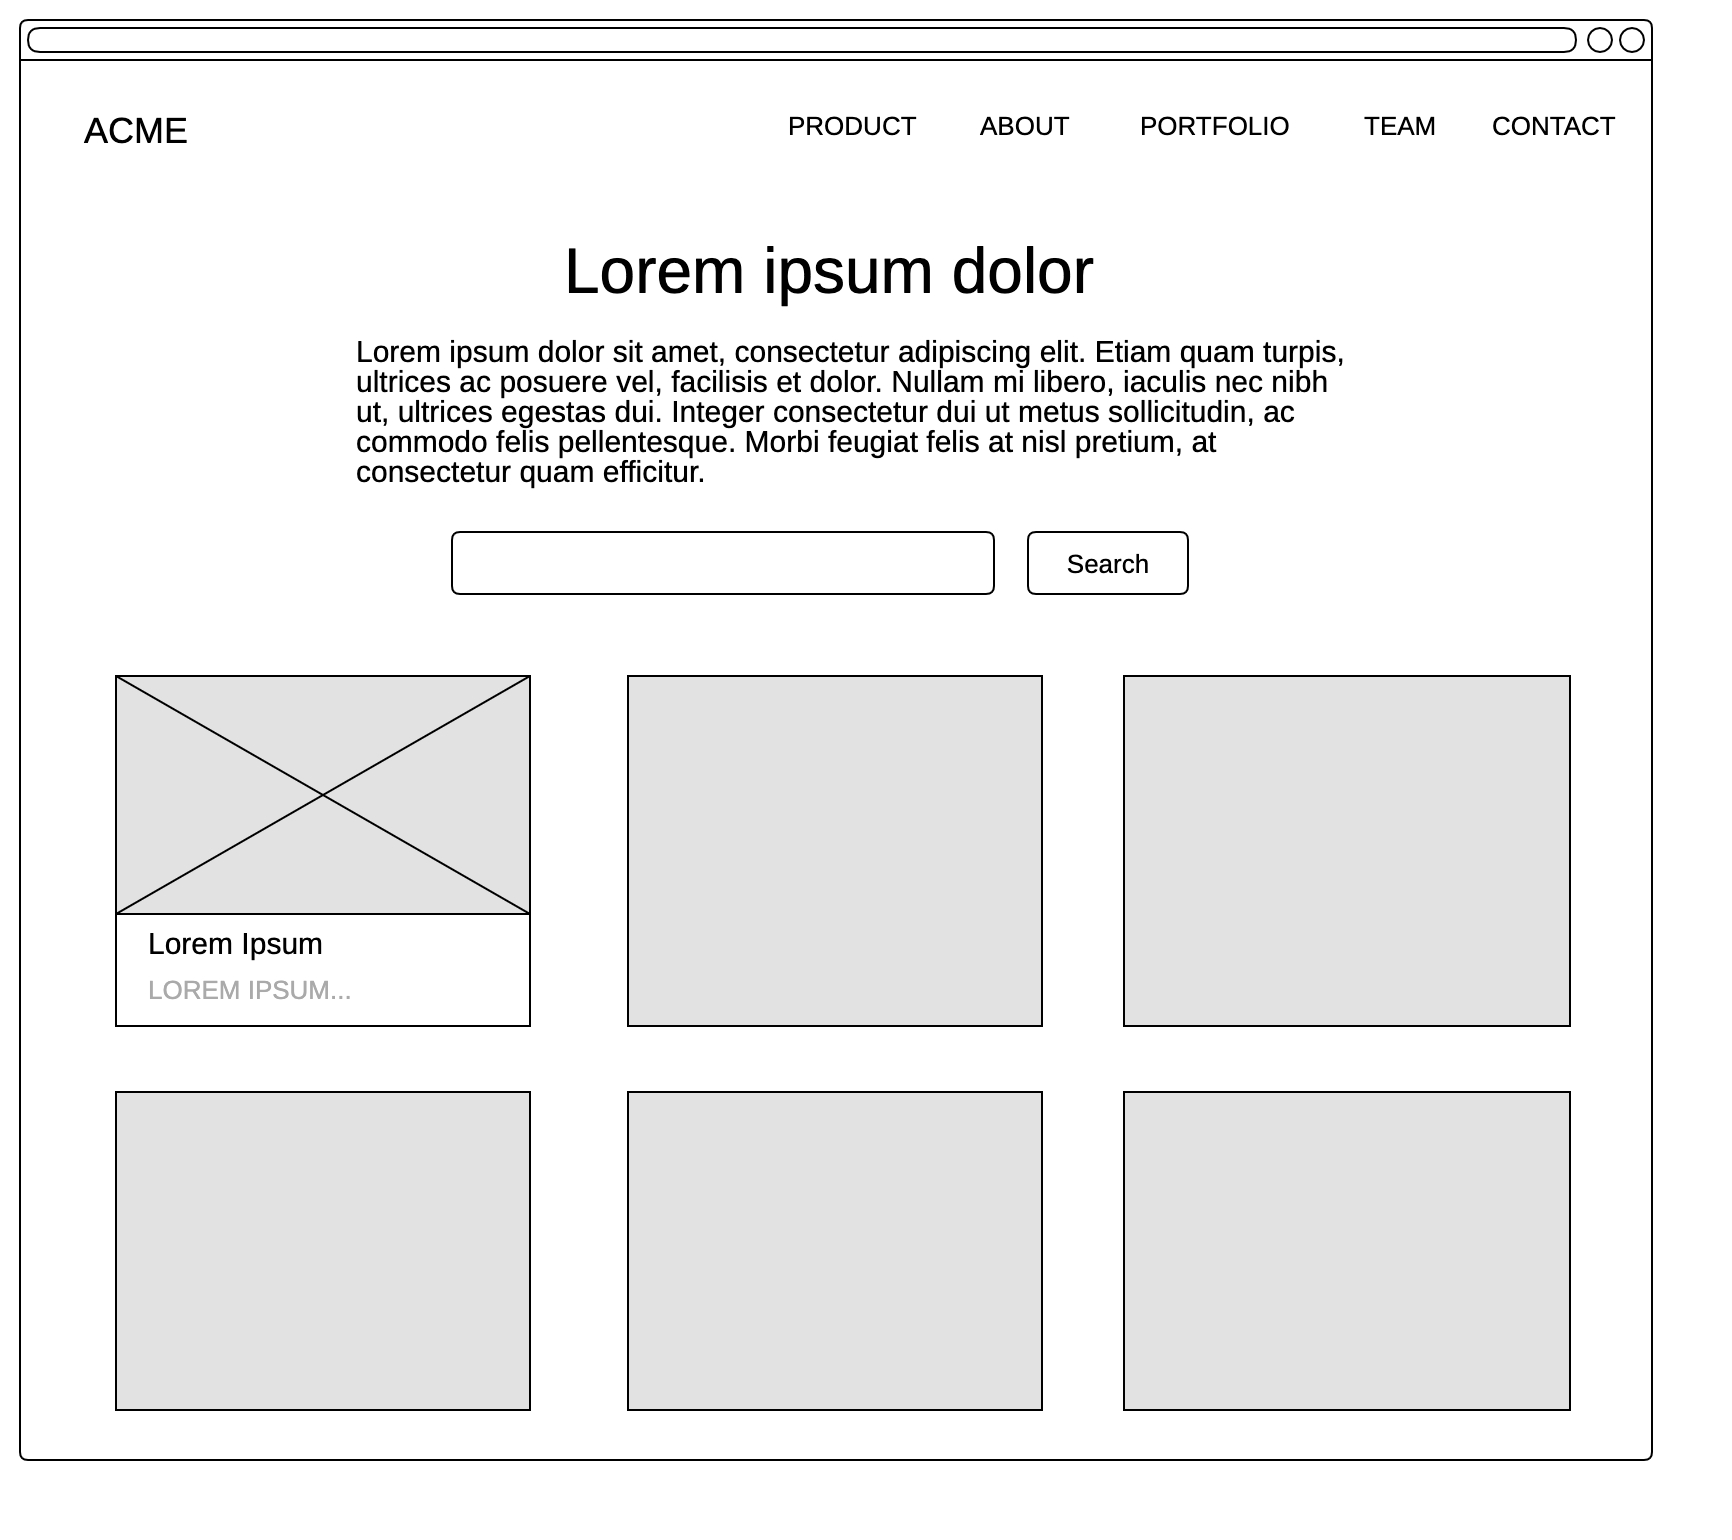
Wireframe Diagram


Create Wireframe Diagram
To create a Wireframe Diagram:
Select first an element where a new Wireframe Diagram to be contained as a child.
Select Model | Add Diagram | Wireframe Diagram in Menu Bar or select Add Diagram | Wireframe Diagram in Context Menu.
Wireframe Model
To create a Wireframe Model (model element only) by Menu:
Select an Element where a new Wireframe Model to be contained.
Select Model | Add | Wireframe in Menu Bar or Add | Wireframe in Context Menu.
Frame
To create a frame element:
Select Frame in Toolbox. You can select one of the frames including Frame (General), Frame (Mobile), Frame (Web), Frame (Desktop).
Drag on the diagram as the size.
Button
To create a button element:
Select Button in Toolbox.
Drag on the diagram as the size.
You can use QuickEdit for element by double-click or press Enter on a selected element.
Name : Edit name.
Add Note : Add a note.
Text
To create a text element:
Select Text in Toolbox.
Drag on the diagram as the size.
You can use QuickEdit for element by double-click or press Enter on a selected element.
Name : Edit name.
Add Note : Add a note.
You can also use Text or TextBox in Annotations Toolbox
Radio
To create a ratio element:
Select Ratio in Toolbox.
Drag on the diagram as the size.
You can use QuickEdit for element by double-click or press Enter on a selected element.
Name : Edit name.
Add Note : Add a note.
You can show checked state by checking
checkedproperty in Property Editor
Checkbox
To create a checkbox element:
Select Checkbox in Toolbox.
Drag on the diagram as the size.
You can use QuickEdit for element by double-click or press Enter on a selected element.
Name : Edit name.
Add Note : Add a note.
You can show checked state by checking
checkedproperty in Property Editor
Switch
To create a switch element:
Select Switch in Toolbox.
Drag on the diagram as the size.
You can show checked state by checking
checkedproperty in Property Editor
Link
To create a link element:
Select Link in Toolbox.
Drag on the diagram as the size.
You can use QuickEdit for element by double-click or press Enter on a selected element.
Name : Edit name.
Add Note : Add a note.
Tab
To create a tab element:
Select Tab in Toolbox.
Drag on the diagram as the size.
You can use QuickEdit for element by double-click or press Enter on a selected element.
Name : Edit name.
Add Note : Add a note.
Tab List
To create a tab list element:
Select Tab List in Toolbox.
Drag on the diagram as the size.
You can use QuickEdit for element by double-click or press Enter on a selected element.
Add Tab : Add a tab.
Add Note : Add a note.
Input
To create an input element:
Select Input in Toolbox.
Drag on the diagram as the size.
You can use QuickEdit for element by double-click or press Enter on a selected element.
Name : Edit name.
Add Note : Add a note.
Dropdown
To create a dropdown element:
Select Dropdown in Toolbox.
Drag on the diagram as the size.
You can use QuickEdit for element by double-click or press Enter on a selected element.
Name : Edit name.
Add Note : Add a note.
Panel
To create a panel element:
Select Panel in Toolbox.
Drag on the diagram as the size.
Image
To create an image element:
Select Image in Toolbox.
Drag on the diagram as the size.
Separator
To create a separator element:
Select Separator in Toolbox.
Drag on the diagram as the size.
You can show the separator vertically by checking
isVerticalproperty in Property Editor
Avatar
To create an avatar element:
Select Avatar in Toolbox.
Drag on the diagram as the size.
Slider
To create a slider element:
Select Slider in Toolbox.
Drag on the diagram as the size.
You can adjust the slider handle by setting the
valueproperty (0~ 100) in Property Editor.